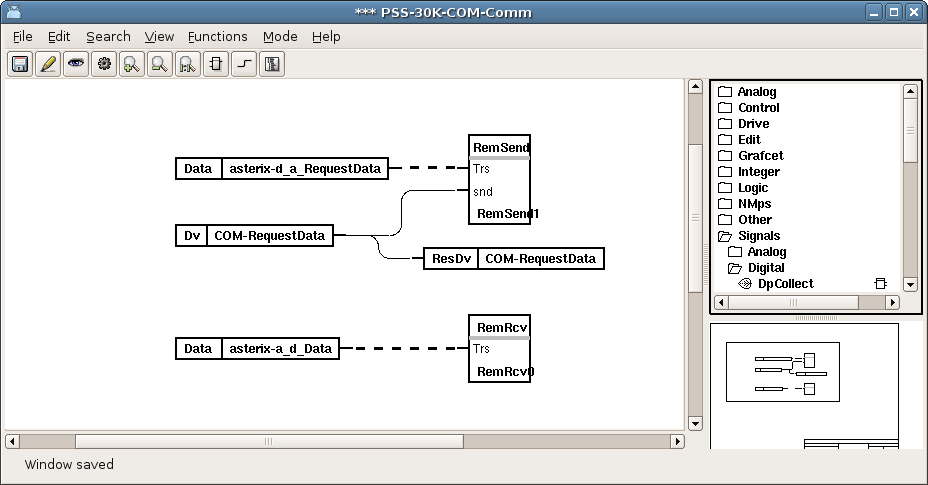
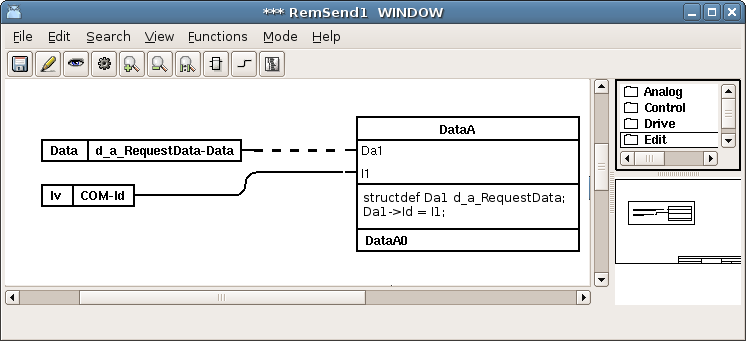
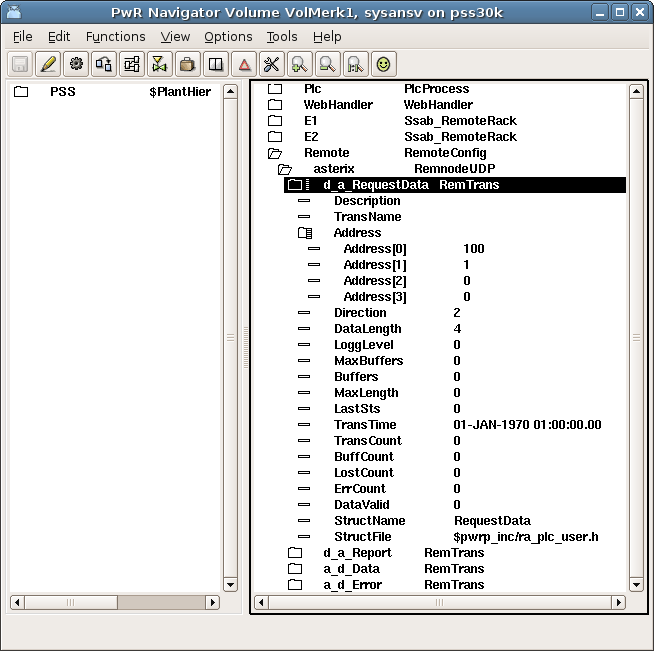
| d_a_RequestData | 4 Byte |
| d_a_Report | 20 Byte |
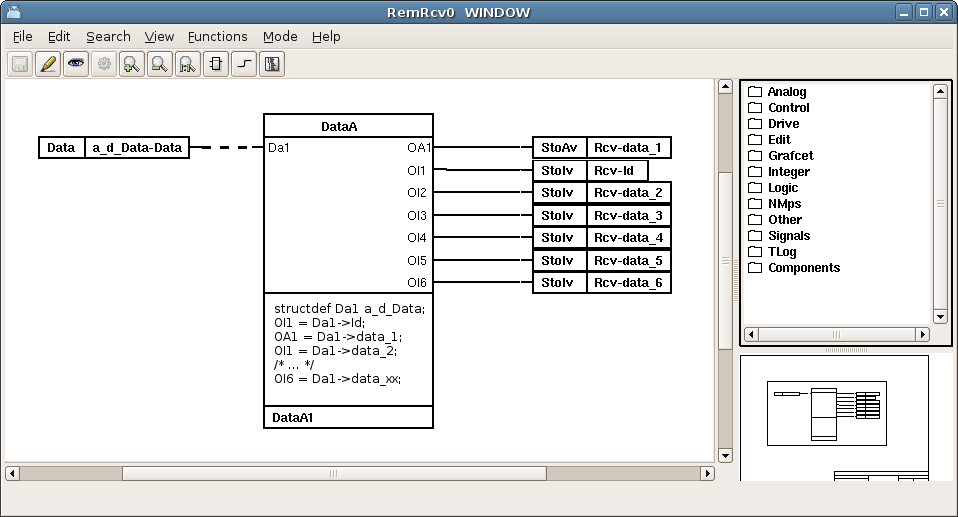
| a_d_Data | 365 Byte (as an answer to the d_a_RequestData-message) |
| a_d_Error | 10 Byte |
typedef struct {
pwr_tUInt32 Id;
} d_a_RequestData;
typedef struct {
pwr_tUInt32 Id;
pwr_tFloat32 data_1;
pwr_tInt32 data_2;
pwr_tInt32 data_3;
pwr_tInt32 data_4;
} d_a_Report;
typedef struct {
pwr_tUInt32 Id;
pwr_tFloat32 data_1;
...
...
pwr_tInt32 data_xx;
} a_d_Data;
typedef struct {
pwr_tUInt32 Id;
pwr_tInt32 func_no;
pwr_tInt16 err_code;
} a_d_Data;
typedef struct {
pwr_tUInt32 Id;
pwr_tInt32 func_no;
pwr_tInt16 err_code;
} __attribute__((__packed__)) a_d_Data;